

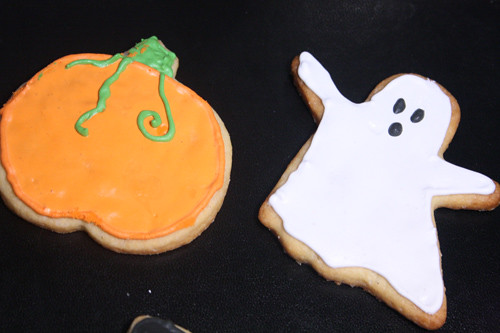
I hate it when I have to use flash, but I want to show my ghost cookie!
All recipes adapted from: Joy of Baking

Sugar Cookies:
- 3 cups (390 grams) flour
- 1/2 teaspoon salt
- 1 teaspoon baking powder
- 1 cup (227 grams) unsalted butter, room temperature
- 1 cup (200 grams) Sugar
- 2 large eggs
- 2 teaspoons vanilla extract
Royal Icing
- 4 cups (440 grams) confectioners' (powdered or icing) sugar, sifted
- 3 tablespoons (30 grams) meringue powder
- 1/2 teaspoon almond extract(optional)
- 1/2 cup - 3/4 cup (120 - 180 ml) warm water
- Food Coloring(I use Gel Pastes that can be found at cake decorating and party stores or else on-line
For Sugar Cookies:
- In a separate bowl whisk together the flour, salt, and baking soda. In the bowl of your electric mixer (or with a hand mixer), beat the butter and sugar until light and fluffy (about 3 to 4 minutes). Add the eggs and vanilla extract and beat until combined. Add the flour mixture and beat until you have a smooth dough.
- Divide the dough in half and wrap each half in plastic wrap. Refrigerate for about one hour or until firm enough to roll.
- Preheat oven to 350 degrees F (177 degrees C) and place rack in center of oven. Line two baking sheets with parchment paper
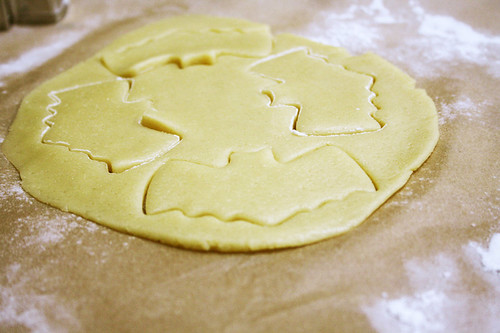
- Remove one half of the chilled dough from the refrigerator and, on a lightly floured surface, roll out the dough to a thickness of 1/4 inch (1 cm).Remove one half of the chilled dough from the refrigerator and, on a lightly floured surface, roll out the dough to a thickness of 1/4 inch (1 cm). (Keep turning the dough as you roll, making sure the dough does not stick to the counter.) Cut out desired shapes using a lightly floured cookie cutter and transfer cookies to the prepared baking sheet. Place the baking sheets with the unbaked cookies in the refrigerator for 10 to 15 minutes to chill the dough which prevents the cookies from spreading and losing their shape while baking.
Note: If you are not going to frost the baked cookies, you may want to sprinkle the unbaked cookies with crystal or sparkling sugar. - Bake cookies for about 8-10 minutes (depending on size) or until the edges are just starting to brown. Remove from oven and let cookies cool on baking sheet for a few minutes before transferring to a wire rack to finish cooling. Frost with royal icing, if desired. Be sure to let the royal icing dry completely before storing. (This may take several hours.)
- Frosted cookies will keep several days in an airtight container. Store between layers of parchment paper or wax paper.
- Makes about 36 - 4 inch (10 cm) cookies.
For Royal Icing:
- In the bowl of your electric mixer (or with a hand mixer), beat the confectioners' sugar and meringue powder until combined.
- Add the water and beat on medium to high speed until very glossy and stiff peaks form (5 to 7 minutes). If necessary, to get the right consistency, add more powdered sugar or water.
- To cover or 'flood' the entire surface of the cookie with icing, the proper consistency is when you lift the beater, the ribbon of icing that falls back into the bowl remains on the surface of the icing for a few seconds before disappearing.
The icing needs to be used immediately or transferred to an airtight container as royal icing hardens when exposed to air. Cover with plastic wrap when not in use.