Showing posts with label icing/decorating. Show all posts

Sunday, October 30

Brownie chocolate Halloween cupcakes


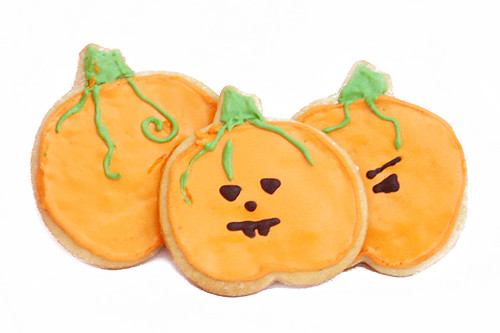
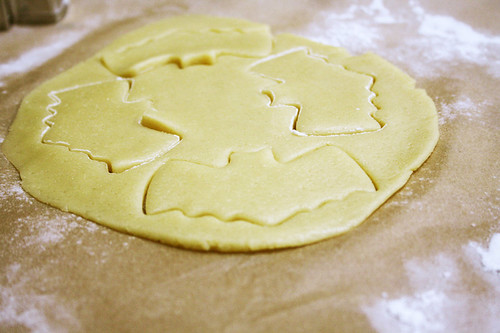
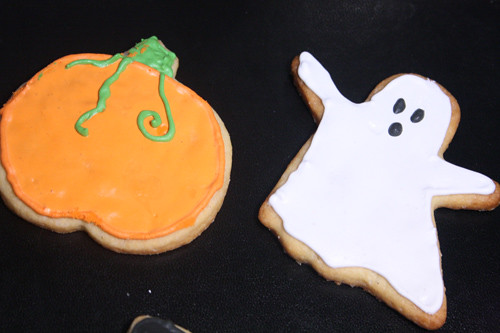
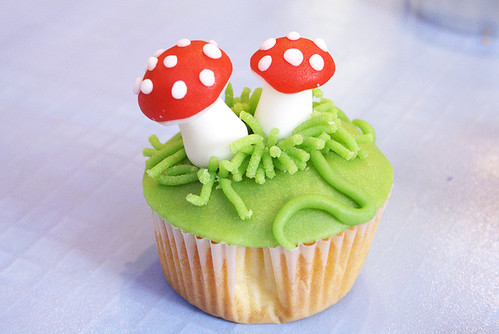
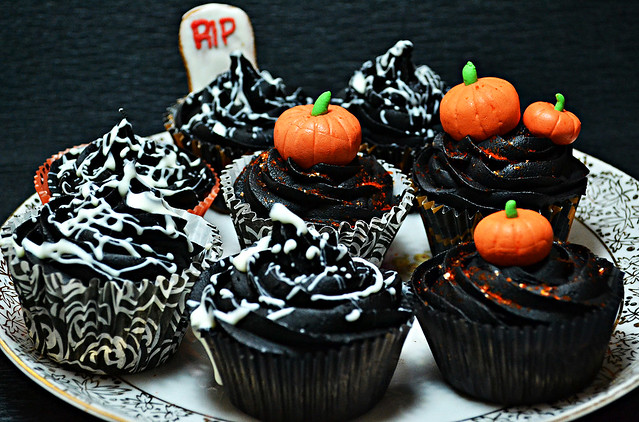
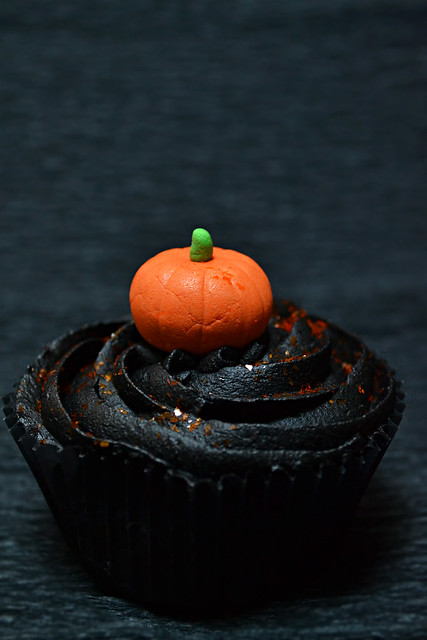
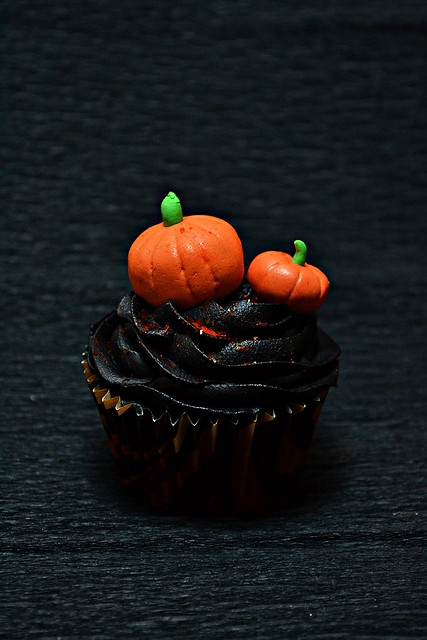
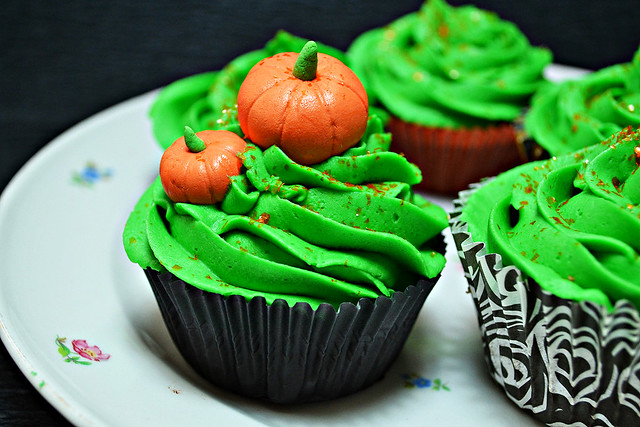
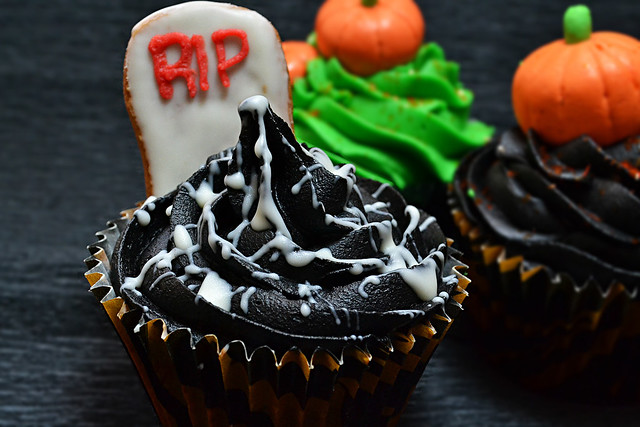
Finally a some new baking! I had a busy few weeks with my internship at the hospital, internal medicine. All very interesting, but I have less free time. So now I had a free week and I was so inspired by the other cupcakes I made, that I decided to make more! This time I made halloween themed cupcakes, with some cute pumkins made with fondant and black and (poisened) green buttercream icing. Last year I made decorated halloween cookies, which were nice as well.


These were so totally delicious in everyway! I wanted something different than chocolate cupcakes cakes, so I made brownie cupcakes. Which were very delicous but I do not recommend them if you want to keep them the day after. They are perfect after baking, but a day later they became quite hard. My friends however didn't mind and ate them anyway, awesome friends right?
I made chocolate frosting for half of the cupcakes, which I also colored red. I made the other half vanilla frosting, and colored those (poisoned) green. I decorated some with fondant pumkins, and decorated others with sparkles and drizzled white chocolate. Spoooky!


Brownie cupcakes
Ingredients
Yields: 24 cupcakes
1.6 Cups (200gr) all purpouse flour
1.3 Cups (300gr) butter, room temperature
1.5 Cups (300gr) white sugar
4 ounces (120gr) unsweetened chocoalte
4 eggs (medium)
1/2 teaspoon salt
2 teaspoons vanilla extract

Method
Preheat oven to 170C (340F) and place the rack in the middle of the oven. Line the wells of two cupcake pans with 24 paper liners. Combine salt and flour in a bowl, set aside.

Melt the chocolate and butter au bain marie, or in the micro oven. Keep steering until combined well. Take the mixture off the heat and mix in the sugar.
Beat the eggs one by one. Then add the vanilla extract. At the end add the flour and salt mixture too it until smooth. You can add some pecans or walnuts if wanted.

Fill the liners with either a spoon or a ice scoop (what I did) by 2/3. They rise a little in the oven, but not that much. 

Bake the cupcaqkes for about 20-25 minutes in the oven. Check after 20 minutes if cupcakes are done, if not keep checking every 5 minutes.
Adapted from: Cupcakerecepten.nl


Classic Chocolate & Vanilla Frosting
Ingredients
Yields: 12-24 cupcakes (depending on how much frosting you use)
1 cup (2 sticks) unsalted butter, room temperature
3 1/2 cups confectioners (powdered) sugar
1/2 cup cocoa (for chocolate frosting)
1 teaspoon salt
2 teaspoons vanilla extract
4 tablespoons whole milk or heavy cream

Method
Cream butter for a few minutes in a mixer with the paddle attachment on medium speed. If you don't have a paddle attachment you can use the regular mixer, but paddle attachment is better. Turn off the mixer.
Mix dry ingredients in a separate mixing bowl.

Sift 3 cups powdered sugar and cocoa into the mixing bowl. 
Turn your mixer on the lowest speed (if you use a higher speed the dry ingredients will fly everywhere) until the sugar and cocoa are absorbed by the butter.
Increase mixer speed to medium and add vanilla extract, and milk/cream and beat for 3 minutes
(You can add sugar/Milk to get the correct thickness/thinness needed).
Adapted from: Cupcakes and Bleach


Enjoy some spooky evenings!

Tuesday, June 21

Cupcake decorating attempt


So I did my first time cupcake decorating! It was so much fun to do, but sadly I didn't have the right tips for it.And I'm not that happy with the results either, but hey! But first time for everything right?
I did love to make them, and I am going to do it more often from now on.
These were chocolate cupcakes and the topping was just plain butter cream. The taste was great well, next time I will post a recipe!
Don't mind the brown tips of the cupcake wrappers, I have no idea why those changed color.


Any tips for me to improve my decorating?

Monday, November 1

Halloween cookies

I love Halloween! I find it a shame that it's not really that populair in the Netherlands (even tough I saw some kids trick or treating this year). I love all the kinds of candy you can make for halloween, specially with all the spooky decorations. I found it a good excuse to finally start cookie decorating, since I bought stuff to do that. So here, my first time cookie decorating! I'm so proud!


I hate it when I have to use flash, but I want to show my ghost cookie!

All recipes adapted from: Joy of Baking
Sugar Cookies:

  • 3 cups (390 grams) flour
  • 1/2 teaspoon salt
  • 1 teaspoon baking powder
  • 1 cup (227 grams) unsalted butter, room temperature
  • 1 cup (200 grams) Sugar
  • 2 large eggs
  • 2 teaspoons vanilla extract
Royal Icing
  • 4 cups (440 grams) confectioners' (powdered or icing) sugar, sifted
  •  3 tablespoons (30 grams) meringue powder
  • 1/2 teaspoon almond extract(optional)
  • 1/2 cup - 3/4 cup (120 - 180 ml)  warm water
  •  Food Coloring(I use Gel Pastes that can be found at cake decorating and party stores or else on-line
For Sugar Cookies: 
  1. In a separate bowl whisk together the flour, salt, and baking soda. In the bowl of your electric mixer (or with a hand mixer), beat the butter and sugar until light and fluffy (about 3 to 4 minutes). Add the eggs and vanilla extract and beat until combined. Add the flour mixture and beat until you have a smooth dough.
  2. Divide the dough in half and wrap each half in plastic wrap. Refrigerate for about one hour or until firm enough to roll.
  3. Preheat oven to 350 degrees F (177 degrees C) and place rack in center of oven. Line two baking sheets with parchment paper
  4. Remove one half of the chilled dough from the refrigerator and, on a lightly floured surface, roll out the dough to a thickness of 1/4 inch (1 cm).Remove one half of the chilled dough from the refrigerator and, on a lightly floured surface, roll out the dough to a thickness of 1/4 inch (1 cm). (Keep turning the dough as you roll, making sure the dough does not stick to the counter.) Cut out desired shapes using a lightly floured cookie cutter and transfer cookies to the prepared baking sheet. Place the baking sheets with the unbaked cookies in the refrigerator for 10 to 15 minutes to chill the dough which prevents the cookies from spreading and losing their shape while baking.
    Note: If you are not going to frost the baked cookies, you may want to sprinkle the unbaked cookies with crystal or sparkling sugar.
  5. Bake cookies for about 8-10 minutes (depending on size) or until the edges are just starting to brown. Remove from oven and let cookies cool on baking sheet for a few minutes before transferring to a wire rack to finish cooling. Frost with royal icing, if desired. Be sure to let the royal icing dry completely before storing. (This may take several hours.)
  6. Frosted cookies will keep several days in an airtight container. Store between layers of parchment paper or wax paper.
  7. Makes about 36 - 4 inch (10 cm) cookies.


For Royal Icing:

  1. In the bowl of your electric mixer (or with a hand mixer), beat the confectioners' sugar and meringue powder until combined. 
  2. Add the water and beat on medium to high speed until very glossy and stiff peaks form (5 to 7 minutes). If necessary, to get the right consistency, add more powdered sugar or water. 
  3. To cover or 'flood' the entire surface of the cookie with icing, the proper consistency is when you lift the beater, the ribbon of icing that falls back into the bowl remains on the surface of the icing for a few seconds before disappearing.

The icing needs to be used immediately or transferred to an airtight container as royal icing hardens when exposed to air. Cover with plastic wrap when not in use.

Thursday, October 28

Cupcake and fondant decoration .2

Here are a few more pictures from the workshop I did the other day.
I love the mushrooms, I will be making these more often!


I thought I had a lot more pictures about how I made these mushrooms! Sadly they weren't as I thought they would be, but I guess it gives beginners like me an idea about how to make them. Or I hope so! But they are cute anyways, right?

The white parts are made with fondant, an the red and green are made with marzipan, yumyum!


First we rolled out the marzipan and cut out a circle the exact size of the cupcake.

(sorry for the blurry picture) Next you make two balls with white fondant, then press your thumb and indexfinger on two sides of the ball. Next you start rolling the ball between your fingers. If you do it correctly it will look like the picture. You can make one side thinner than the other.


 Then with red marzipan you make two red balls. Then you press your thumb in it and fold the marzipan over your thumb, like a little cap. Then with a little white piece you make the lower part of the mushroom cap, by filling it with white fondant. The lower part can be flat, or hollow.


Next put the cap on the stump and put little white dots on them, and voila!


The grass is made with a garlic press. Just make a ball and press it through the holes, then slowly take it off the press with a toothpick and put it on the cupcake.

Note: everything is glued together with pipingel, mixed with just a little bit of water. You can put it on a plate and use it with a little brush (like in the pictures)

Friday, October 22

Cupcakes and fondant decoration .1


Today I went to a cupcake (fondant) decoration workshop with a friend. The workshop was organised by pipoos, a craft and hobby shop here in Holland. Recently they have started selling baking decoration supplies, with brands like Wiltons (which is still pretty rare here) and other brands. So this time in their hobby workshop week they did a cupcake decoration theme, with fondant.
We had so much fun! We subscribed for one hour, but stayed an hour extra because it was so much fun! And it was 3 euro's per hour anyway.

The cupcakes were already baked the day before, and we were allowed to do anything we wanted with them. They had several colors of fondant, embossers, cutters and icing. They also had several examples which we could copy, and they would show us the steps we had to take.


These were a few examples, I love those mushrooms!
First we started rolling the fondant and cut out circles which were slightly bigger than the cupcake itself. It gave a nice effect this way.


I decided to make a little tower with one normal cupcake, and one tiny cupcake. So cute!


I cut out little flowers with embossers, and one big flower for the tiny cupcake. Then decorated them with white balls and some leafs. Aahhw!


Next I made a pink cupcake (I just had to use more of that pink fondant). This time I did the same as before, and made the fondant slightly bigger than the cupcake.


Cute, right?

I will post some more pictures soon, I made those mushrooms and I really have to show them!

I had to use a high ISO with my camera to make these pictures come out clear and sharp. Unfortunately the sensor in my camera isn't so good as I'd want it to be, so most of these pictures have noise in them (besides the top picture, which I made in my lightbox I recently made). Oh well, better next time!