

I have lived in Spain for eight years, and chorizo is something that I miss so much now that I live in Holland. I love that it is so spicy with this unique intense flavor, which I miss in a lot of other ''sausage types'. If you are not the spicy type, you can buy a milder type in the supermarket. How great is that?
When I went to Spain this summer, to visit the town where I grew up my boyfriend fell in love with it as well, and he's been eating it ever since. So when I stumbled upon this recipe from Kayotic Kitchen I didn't hesitate, I bought my things and made some delicious little chorizo buns.
I really recommend checking out her site, her blog is amazing and almost all of her posts take you through all the steps in the recipes with great photography. Besides, she's dutch as well so that's pretty cool.
From Kayotic Kitchen

- 3 heaping tbsp garlic/herb cream cheese
- 6 puff pastry sheets (frozen)
- 1/2 cup cheese, grated
- roughly 4oz chorizo
- 1/2 red bell pepper
- 1/2 tsp dried basil
- 1 small red onion
- paprika powder
- pepper
- 1 egg
- Start by chopping the onion and bell pepper, chop as finely as you can or use your food processor. You can use about 4oz Spanish chorizo, or about half of a sausage.
- Use a little oil and sautee the onion and bell pepper until your onion is translucent. Put the chorizo in a big bowl and add your grated cheese.
- Now add 3 heaping tbsp spiked cream cheese. Plunge in your vegetable mix and also add 1/2 to 1 tsp dried basil. Add a good pinch of black pepper, grab a fork and start mixing it all up. Taste to see if it needs more of anything. Usually it’s perfect like this.
- Sprinkle a little flour on your cutting board or kitchen counter. Place the pastry sheets next to each other and sprinkle a little flour on top as well.
- Now break out your dough pin – if you’re anything like me it’s probably somewhere in the back of a drawer with the other stuff you seldom use anymore. Great to have around for these occasions, though. Start rolling out the puff pastry a bit. No need to make it paper thin, just a little thinner. ( didn't do this, I like it better when the dough is a little thicker.
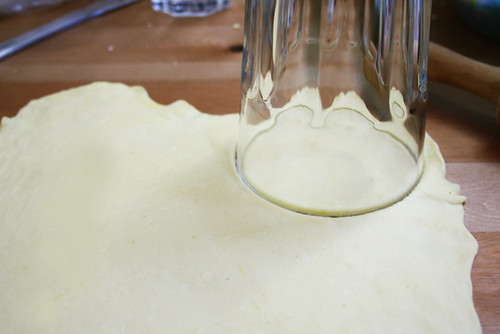
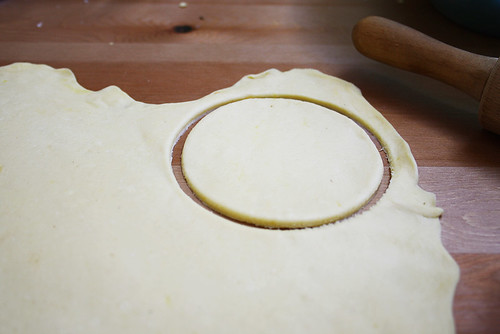
- With a cookie cutter (about 3 inch wide) or a glass cut out little pastry circles. Get the leftovers and knead it.
- Sprinkle a little flour underneath the dough and roll it out again. Using your cookie cutter or glass or whatever, continue making pastry circles.
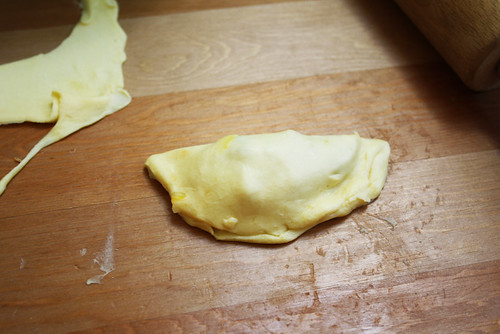
- Start filling the pastry. Use 1/2 to 1 tsp filling on one half, fold the other half over and seal the edges. If the edges won’t stick as much as it did before rolling out the dough for the 2d (3d or 4th) time, just get your fingers wet and lightly dab some water on the inside of the pastry, that will make it sticky again.
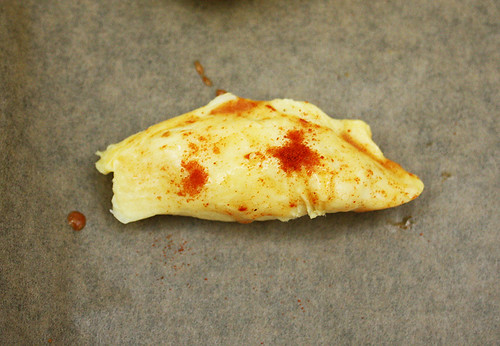
- When you’re done, place them on a cookie sheet. Get a little paprika powder on top of them. Just hold your measuring spoon over a small sieve (it’s called a sieve, right?) and lightly tap your finger on the side of the spoon. This will distribute the paprika powder more evenly. (I just mixed the paprika powder with the egg in a little bowl and then brushed it over the puffs)
- Preheat your oven to 450F (225C) and bake them for 12 to 15 minutes until beautifully brown and puffy.
Ziet er lekker uit!!
ReplyDelete